23-24 October 2010
Saturday 23rd October Today Dave G, Jason and Jim had the task of getting the conduit fitted top the loco bed plate for when the cab is refitted on the 14 th November. Also there was the small conduit to repair and ready for fitting when time allows. Because of the weather they had to build a frame over the cab and nose area so a dry workplace could be made. They used the frame of the sales stand suitably modified to make a supporting frame for the loco's tarpaulin. The large conduit was in the container so the first task was to extract it. It was then placed on the bed plate and carefully lined up with the markings made before it was removed. To hold it to the bed plate this time Jim had decided to drill into the bed plate and to tap the holes and bolt the conduit down with stainless steel bolts. Jason and Dave made a start on drilling pilot holes. In the mean time Jim was busy repairing the small conduit. After a break for dinner all three of us finished drilling the bed plate and tapping out the holes. The conduit was then bolted down after a few adjustments. Then the small conduit was placed in position and Jim, Dave and Jason decided where the mounts for it would be positioned, They also decided that the main large conduit would be painted orange to match all the other electrical conduits and channels on the loco. New brackets were welded to the small conduit and drilled ready for mounting to the bed plate. Sunday 24th October Jason was on his own today but he had a couple of important tasks to keep him going throughout the day, firstly he gave the small controller cable duct that jim had welded up the day previous a quick drell then he painted the inside with Anti-Tracking paint and the exterior with green primer, after which he went into D8233 to gloss paint the main cable duct, while he was doing this Chris Guntripp appeared and was looking for a job to on the Co-bo fortunately there was a small task that Jason had been asked to do and that was to undue all the catches on the roof section that sits over the back of the generator, this will need to be removed when the overhauled Exhausters are lifted in next month . He then make a start on making up gaskets for the Cab floor-mounting flange, firstly he went into the tent and measured the length and width of all the flanges. Jason then had a measure up and marked out the blanks for the gaskets out of the roll of cork that had been supplied, he then cut out the six blanks and then made a cardboard template to help make the “Dove Tail” joints between the gasket sections, after these had been cut out Jason returned to the tent with the two long side gaskets and using spring clamps clamped them into position on the cab side floor flanges. He then marked out the position of the holes with a pen, then using the hole punch cut out the holes as marked on the gaskets and laid them into position on the floor plate using some ½ whitworth bolts dropped in to locate them, he then positioned the gaskets for the bulkheads one at a time, marking and cutting the holes and then also locating them with bolts and making sure the Dove Tail joints fitted correctly. After finding the that the paint on the main cable duct had dried put it back into place and loosely located it with bolts at each end. To finish off Jason applied a second coat to the controller duct and painted the outside with undercoat. The next working weekend is 20/21 November. If you wish to lend a hand please contact Chris Tatton |
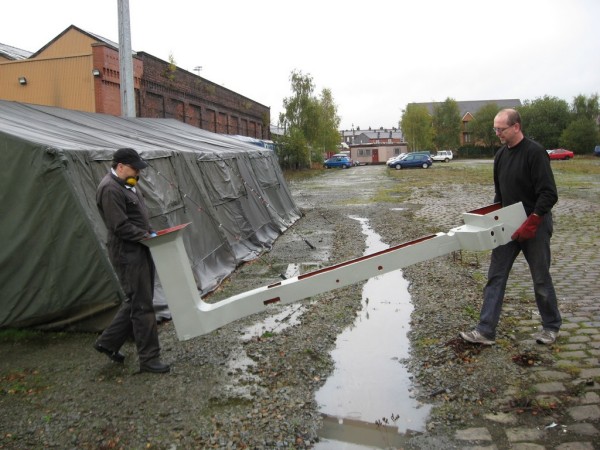 |
| Above : Dave & Jim move the conduit from the storage container to the loco. © C15PS |
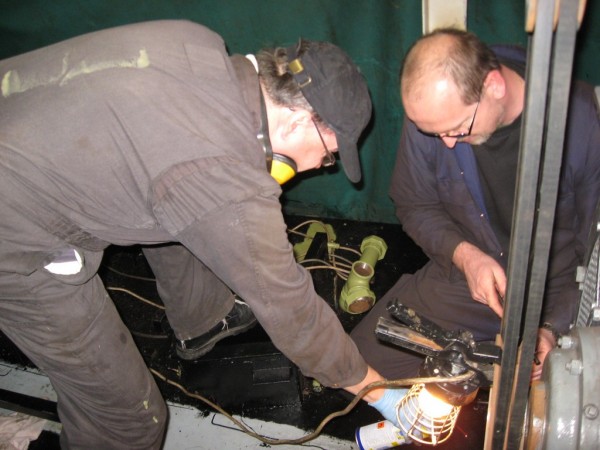 |
| Above : Tapping holes for the conduit to be bolted down. © C15PS |
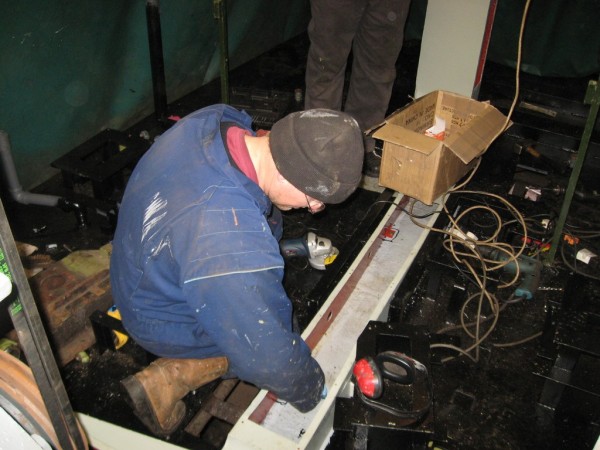 |
| Above : Jason painting. © C15PS |
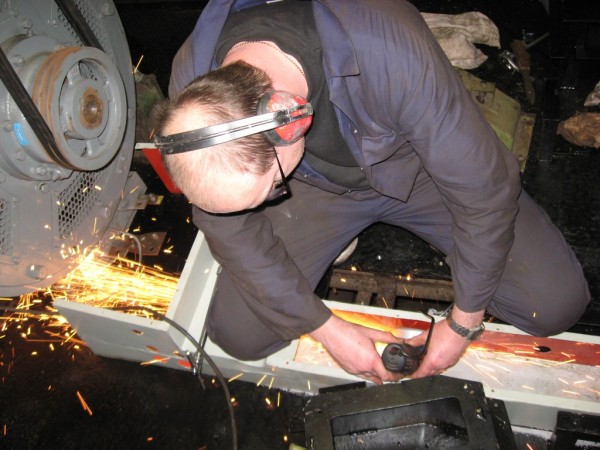 |
Above : Jim grinding. © C15PS |
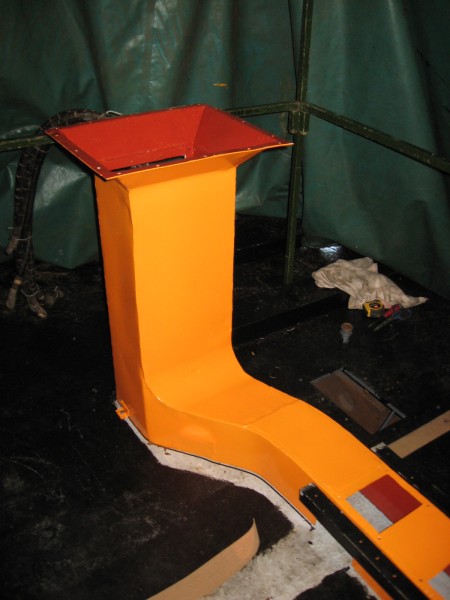 |
Above :
Conduit in place and painted orange
to match other electrical conduits and channels on the loco. © C15PS |
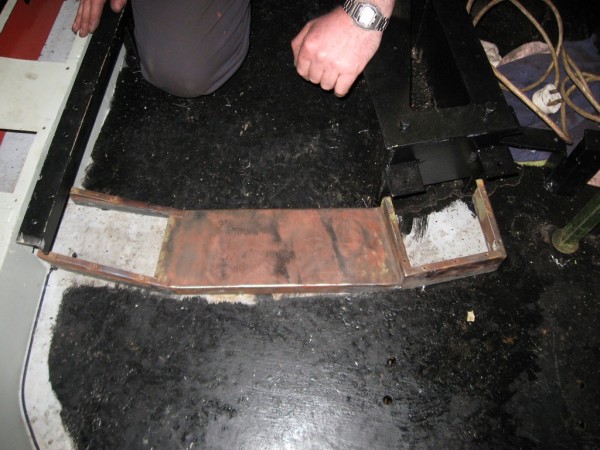 |
| Above : Test fitting the small conduit. © C15PS |
Fancy Getting Involved? click on the You Can Help page