23-24 May 2009
Saturday 23rd May Attendance : 5 During the week previous to this working weekend, the ELR Volunteer accommodation of the Mk3 Sleeper coach and toilet block had been relocated from their former site in Castlecroft yard down to our site on the siding along side the Baron St locomotive works, this had entailed the siding that our support coach, D8233 & D5705 were stabled on being all shunted out and rearranged so that space could be made available for the Mk3 Sleeper & toilet block. We had knowledge of this move occurring but we didn't know quite what we would find when we arrived at Baron St on the Saturday morning, all three vehicles have changed positions, the support coach is now next to the Sleeper and D8233 & D5705 are now together nose to nose, which is the first time in preservation that a Class 15 & 28 have met face to face, however the red 4 wheel van which was previously on the buffer the other side of D8233 but now its sandwiched in between our coach & the locos. This is not where we would have preferred this van to go but the siding is set now and on the plus side it makes our locos easier to shunt out again if required so its not such a bad thing after all. As a result of everything changing places all of our existing utilities (Water & Electricity lines) have been disrupted and were out of position so instead of working on D8233 this weekend much time was wasted in getting the power & water reconnected and working again, still we had a decent turn out of five workers five on the Saturday so there was enough to do this and work on the loco as well. The first order of business was to get the power restored to the coach, Jason took on this task and found that the power socket on the wall was nearly alongside the plug lead on the coach but it didn't quite reach so the long extension was used to plug the gap and the excess cable was coiled up and stowed away safely under the coach frames. The next task was to get the water supply hooked up, Chris B had fed the water feed pipe into the coach frame but again come up short, fortunately there was some spare water pipe and a extension was soon made up and connected, this now meant we could put on the kettle and make some tea by which time the other workers had arrived. Meanwhile Rob M turned up on the back of his newly restored BMW R65 motorcycle after the rest had spent some time admiring it. After this Rob assisted Jason in getting the drain pipe from the sink reconnected & extended to a nearby man hole cover where a small hole was cut to allow the pipe to drain properly, after this Rob joined forces with Chris B to get the power supply hooked back up to D8233 this was no mean feat as D8233 was now not only at the opposite end of our support coach but there was also the small matter of the Red 4 wheel van in the way. Firstly the old power line that ran to the back end of the coach was disconnected and removed, it was then re-routed to the opposite end of the coach but some additional equipment was required to make this happen so Jim & Dave volunteered to go on a shopping trip to B&Q to fetch some electrical essentials. While they were away Jason, Chris and Rob needed to do a little weed whacking as the loco had moved down the line to where the thick weeds grow along side the track, after borrowing some tools from the steam department they set about clearing the way however the weeds were so thick that they decided to resort to chemical warfare to get rid of the weeds and a mobile call was made to the away team at B&Q to get some Weedkiller while they were there. On return Dave G & Jim G decided to carry with on their work on the L/H nose door that needed welding back together and refitting so they set about getting that sorted while the fitting of a new water proof all weather power point was undertaken by Chris and attached to the exterior of the coach at the front end, Rob took care of the wiring from the junction box to the new plug but when it came time to wire it in the spare circuit breaker was found to be the wrong type so a second trip to B&Q was needed and this time it was Jason who went. We needed some more heavy duty cable and some 16A plugs anyway so on return the power was shut off and Jason wired in the new circuit breaker. Jim & Dave had set up the door frame on the bench outside and were preparing to get it welded back together but they had to wait until the power was put back on before they could do any welding. Chris & Rob now went into the Class 15 and set about relocating the plug for the lighting circuit from the A end to the B end new wiring had to be run through the B end and cab to meet up with the original lighting circuit and utilising a spare 4 plug block it was attached to the pannier handrail on the L/H rear of the loco just under the tarp where it would be protected from the elements and serve as the new main power point for D8233. Jason on the other had was concentrating on restoring the separate power supply for the power circuit in the Co-Bo, the existing wiring was now all out of position and had to be taken out and resituated afresh. The RCD was removed from under the support coach and repositioned under the sole bar of D8233 just in front of the fuel tank on the L/H side, new wires were then run to connect with the plug on the Co-Bo's buffer beam and to the power plug from the works, once complete the circuit was tested and all worked as it should. By this time Jim had finished welding the inner frame back onto the door skin and now the door was ready for refitting to the loco, the tarp was pulled back over the nose end and welder was relocated to the front of the loco, as the hinges had been cut off the door had to be held up in position and the hinges welded back into place, Jason was now free to lend a hand and Dave and Jason offered up the door in the frame while Jim was inside the nose and tack welded to hinges back on, after this was completed the door was removed and laid down on its end while Jim fully welded the rest of the hinges inside & out, after that the door was refitted and the alignment checked, it looks better now but doesn't quite look as flush as the other nose end door on the R/H side for some reason, still its one more body side door done and only 26 more to go! By this time Rob had departed to do his 2 nd man training turn on the railway and the only job left was the running of the link wire from the support coach to D8233. It had been hoped to make two cabled, one for the lights another for the power sockets, but in the end it was decided to only have the one heavy duty cable and run the lights from the plug block on the loco. The link cable was run under the red van and plug connection made at each end, after Chris had finished off here the power circuit was again tested and all works ok. This bought an end to today's proceedings, it had been slightly disrupted due to the move but we have now got everything working again and work on the loco would continue tomorrow. Sunday 24th May Attendance: 3 After a heavy night in the pub one of the volunteers was a little worse for wear come the morning and as a result things took a little bit of time to get rolling. Jason started the day by finishing off a spot of gloss painting on the TMB snail duct parts that were in the workshop, later Jason & Chris pulled back the tarp at the front of the loco and started painting the nose end door; firstly Jason had to drell back the areas of the green primer burnt by the welder on the L/H door the day before and touch in using some more primer. He then moved onto glossing the inside of the R/H door while Chris took some of the grey undercoat, thinned it out a little and then painted in the grille slats on the outside of the L/H door. While this was going on Chris Tatton arrived and a suitable job was found for him in finishing off the drelling of the L/H side of the roof, the tarp was pulled back a bit more to allow him to set up the ladder and set about the drelling. As the day wore on, Chris T continued drelling the side of the roof and grilles, Chris B started to paint the inside of the L/H nose door with the grey undercoat and Jason disappeared into the engine compartment to complete the painting of the damper flywheel on the front of the engine. Firstly he painted the outer rim with a secondary coat of gloss, this area hade been sanded down during the last weekend as the paint finish had been damaged during the fitting of the flywheel, a little later he then applied grey undercoat to the front face & fan drive clutch drum, by now it was time for a late lunch and after there was a question as to whether it was worth primer painting the roof section that Chris T had just drelled? However as time was getting on we could have painted it but the paint would probably not have dried come time to pull the tarp back so it was decided to leave this task for another day so the sheet was pulled back and the tools tidied away. Jason went back into the engine compartment to apply the gloss to the flywheel with the wood pigeon grey going on the face of the damper and the mid blue (same colour as the fan drive shaft & gearbox) going onto the clutch drum, then as a final job before calling it a day, Jason went into the cab and started to dismantle to handbrake assembly with the view to removing the metal cupboard that surrounds it, the top of the handle came apart OK, and soon he was able to pull the cupboard away from the wall exposing the handbrake pedestal with the pneumatic control valve for the radiator shutters with associated pipe work still attached, also this exposed some pipe work underneath but this would have to be checked out another time, the tarp was secured over the loco and that bought this weekend to a close, we had not done as much work on the loco as we would have liked but given the circumstances we still managed to make some positive progress. The next working weekend is on 20/21 June. If you wish to lend a hand please contact Chris Tatton |
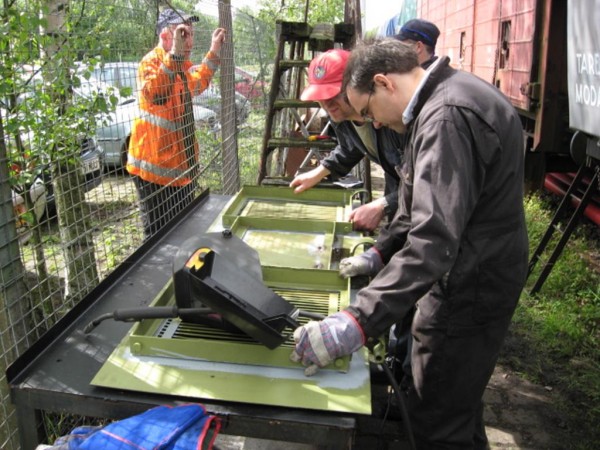 |
| Above : Dave & Jim get the inner door frame ready for welding back onto the outer skin. © C15PS |
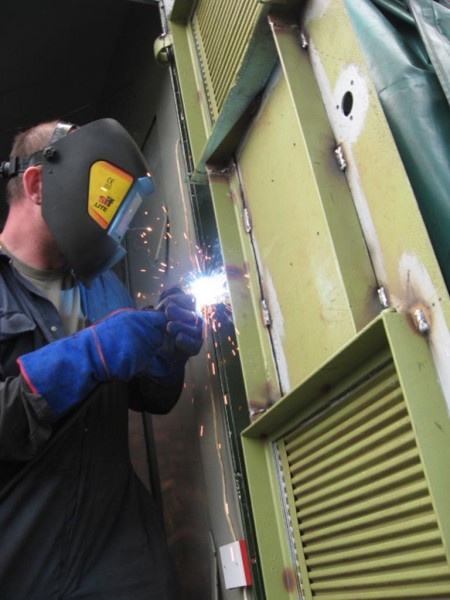 |
| Above : Jim welds the middle hinge back on securely after tack welding the hinges in place. © C15PS |
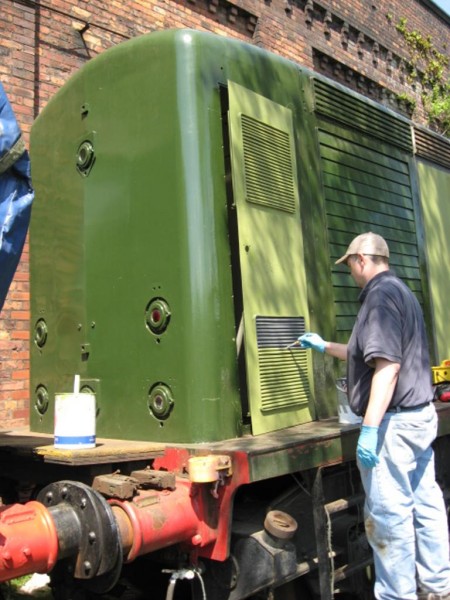 |
| Above : Chris B detail paints the outer grilles slats on the L/H nose end door in undercoat. © C15PS |
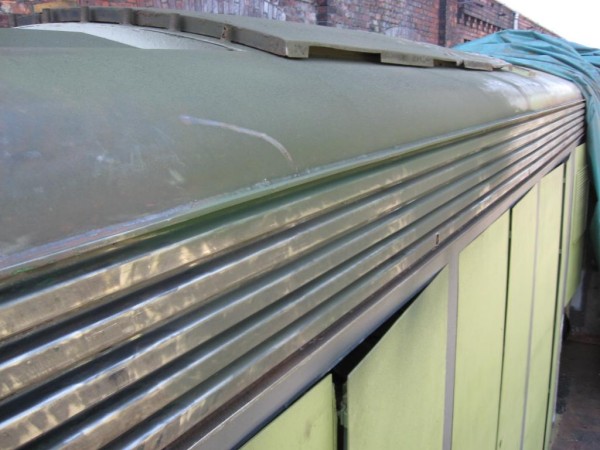 |
| Above : After drelling the L/H roof grilles the area is covered with green drelling dust. © C15PS |
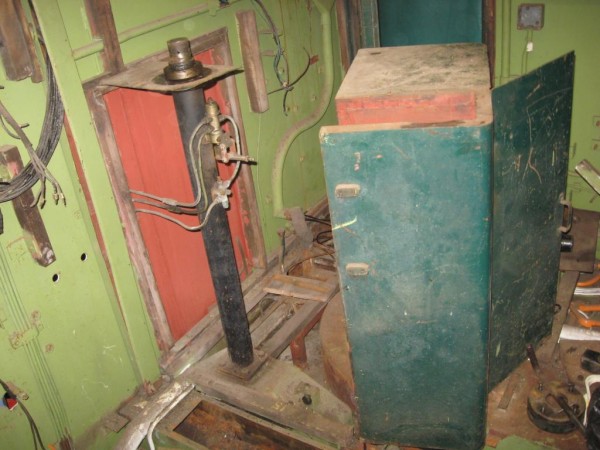 |
The cupboard is pulled back to expose the hand brake padastle and shutter valve. © C15PS |
 |
The final coats of gloss are applied to the damper flywheel & fan clutch drum. © C15PS |
Fancy Getting Involved? click on the You Can Help page