Saturday 8th Total of 9 working members in attendance.
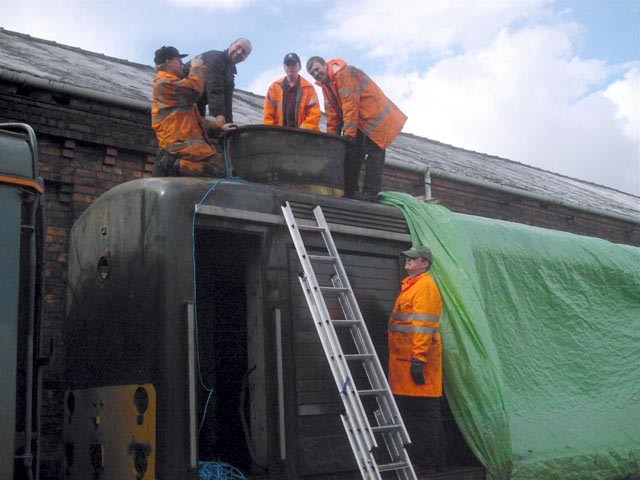
The day started with the removal of the tarp once completed a team set about undoing and removing the bolts that hold down
the small roof panel with fan grill over the radiator group.
The panel was then lowered down to the ground.
The fan itself was found in pretty bad order,
the cover that goes over the shaft to protect it from the elements
has corroded over the years allowing water to collect in the centre of the fan
this was removed and the water and sludge drain and scooped out
the centre of the fan was then filled up with Diesel
to soak the taper shaft overnight and covered over.
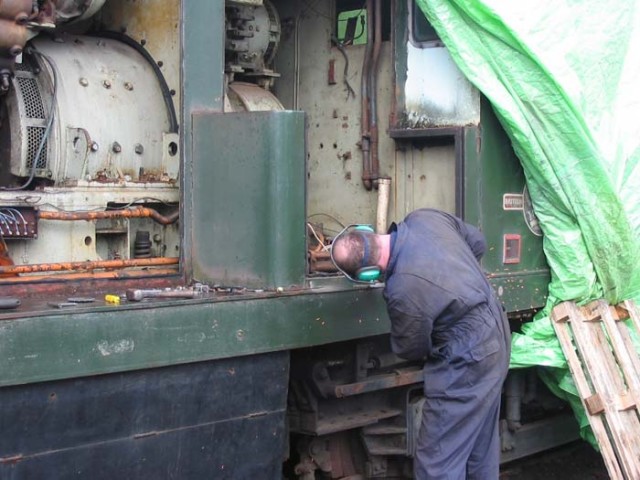
In the cooler group, more oil and water pipework was removed and the
mountings for the top headers loosened off. An attempt was made to remove
the radiator luvres, but was found to be difficult due to them being tack
welded in as well as bolted for some reason, once the cooler group tanks are
removed we will be able to gain better access to remove the welds and hence
the luvres, these need removing for attention as one side is seized.
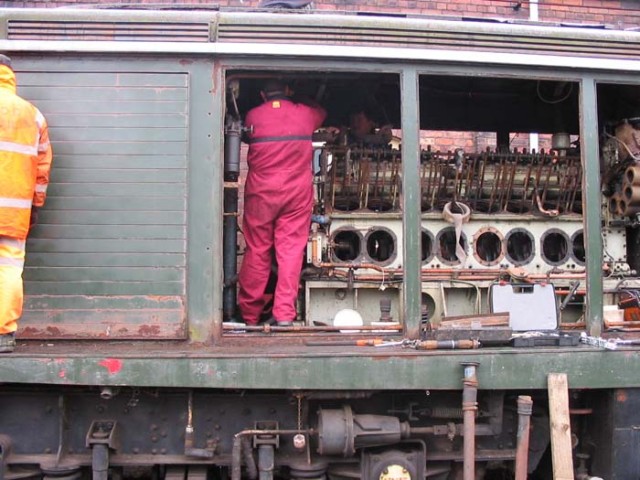
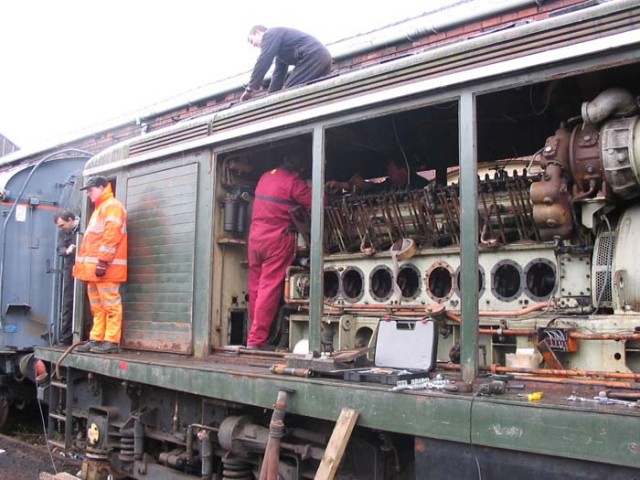
Work also commenced in the engine compartment, the water & oil pipework was
removed from around the free end of the power unit, ready for when we lift
it out of D8233. Some of the pipework was found to be very stubborn and took
some 'brut' force to break the seals! Bit further down from this the left Exhauster box was unbolted
and removed from the side frame and running board. Sounds simple, but with alot of the bolt heads
corroded away and welds in hard to get at with the grinder areas, it took alot of will
sweat and tears before it was actually free from the loco.
Once the right hand one is removed, these will go away off site for metal work repairs.
One thing with D8233 the team are constantly finding out
is that the years havn't been kind to her at all
the amount of corrosion & gunk is making it hard work to remove items
that usually would be a simple task.
This is probably the first time it has received this kind of work on her since built!
In the Coach, our membership sec, finished construction of the kitchen unit,
and Nick made a start on hard wiring the coach into the 32 amp supply
put into us on the loco works wall.
Once completed it will save having to turn lights off to put the kettle on!
The guys in attendance did great work today in horrible conditions
the Bury climate not making its mind up what it wanted to do
one minute it was nice sunshine the next rain then hail showers...
we even had a thunder & lightning show towards the end of the day!
Sunday 9th A total of 7 working members in attendance today.
Today we started by attempting to remove the fan & fan drive arrangement.
Jim made a puller to go on the fan to jack it off the taper shaft
the Diesel was drained out and the the 2 pulling holes tapped out ready.
The bottom fan drive mounting was removed by the aid of a hydraulic puller
borrowed from the ELRDG.
Jason ventured underneath No1 end bogie to remove a conduit box which was
welded on as part of the ETH modification.
This was so he could gain access to the bolt heads that were for
the fan drive gearbox pedestal. Once he had removed the conduit box
he discovered that the traction motor cables were still in place for No 1 bogie
these will be looked at and earth tested at a later date.
The fan drive pedestal was removed along with the rest of the
traction motor blower ducting in the cooler group
this gave access to alot more water and oil pipes and more gunk!
Up on top, we made a start jacking the fan off, but then disaster struck
as the pressure went on the shaft, there was a big bang,
what we thought the fan coming off the taper, when we looked,
the top sheet of the fan had snapped in a clean circle and lifted away from the mounting.
This could mean a new fan having to be made, or it maybe repairable if pushed down and
welded up, we will be consulting about this.
Plan B then!
We then decided that the best way forward was to remove the fan and drive as one lump...
but the nuts and bolts that mounted it down and the side stays on were not captive,
this meant fashioning tools so we could thread them in-between the bottom of the fan
and the fan drive mounting, once done it made the job so much easier,
we shouldn’t have much of a problem if we have to put the drive
back in with the fan still attached.
With the side stays removed this released the drive from the cowling. The fan was then lifted up with the drive and clear of the loco and lowered to
the ground, using a system of rope, pulleys and manpower!
With the fan out of the way, the cowling was then lifted clear out of the cooler group area
this was then lowered to the ground. With the cowling now out of the cooler group area,
we can now access the tanks and pipework at the top of them,
hopefully the next working w/e will see the cooler group completely empty
and ready for cleaning out, treating the rust and painting.
Photos of the work are below