Exhauster Overhaul for D5705 At the end of March two Traction Motor Blower motors and two exhausters were transported from Bury to my home workshop (garage) for overhaul when I have days off work.. This is the story of the overhaul of the first exhauster for D5705. Originally the two exhausters were procured from ex Class 81 locos for D8233 by Brian Bailey who was working on D8233 during its time at Crewe and even during the overhaul the exhauster was going to be refitted to D8233, but this meant removing the heads and turning them for the ports to be at the right end for the pipe work. When we removed 2 exhausters from a Class 31 it was decided then that we would use those for D8233 instead, mainly due to the ports being the right way, so no head removal required, also it was found that D5705's exhausters were in quite a bad way and would require a lot of work and drying out to bring them back to standard. So the two exhausters in Wales would now be overhauled and fitted to D5705 instead of D8233. With the overhaul of both TMB motors for D8233 now complete attention turned to the first exhauster. Firstly the motor was split from exhauster itself and tested with all surprisingly testing very well so no major drying out work involved. The head was then removed from the exhauster (this before the decision to use it for D5705) and the cylinder bores found to be in satisfactory condition. The armature was then cleaned up with solvents and left to dry out. The fields were jet washed out, dried out then cleaned further with solvents and dried out again. Once dry and readings were satisfactory, they then received two coats of anti track varnish along with the armature. The end plate then had the brush boxes marked and removed and the plate itself along with other items drelled up and painted using anti tracking varnish. The brush boxes received a good drelling back to shiny brass on the wire wheel and then refitted to the markings. A new bearing was fitted to the armature and motor end plate and then the motor body was lifted back onto the exhauster over the armature and bolted up. The terminal mounting had been smashed during some point in its career and fortunately was in big enough chunks to superglued back together! Good old loctite! This was then fitted in the terminal box and the cables mounted correctly. The motor end plate was then fitted and bolted up and the cables to the brush boxes connected and brushes fitted. The bearing cap was fitted and pumped full of grease. It was at this point I decided to try for a little test on low voltage. The cylinders were cleaned of any debris and then 12v applied, and with a little shove on the fan the motor slowly span into life. Feeling happy that all was well and the motor was spinning in the right direction, I decided to start the cleaning up and paint removal. For this a lot of needle gunning and drelling was required. It was whilst doing this that I noticed a small oil leak from the side filler blank. The old oil was drained out and the blank removed along with the other side filler and the faces cleaned up. They were then refitted to the correct sides for the mountings in D5705. With this done I decided to flush the sump out. So I half filled it with brake cleaner and with it suspended from the crane I rocked it back and forth and then drained out the now very dirty cleaner. The process was repeated a few times till the cleaner was running clean. I also removed the oil filter; this was washed out and left to dry. I then turned to the cylinder head and cleaned off all the old gasket and needle gunned in between all the fins - which took forever! To make access to the underneath easier, I turned the exhauster onto its side; drelled underneath and then primed it. I then up righted the motor and continued to prime the motor and oil pump area. Before I went any further with the primer, I decided it would be best to fit the cylinder head. I custom made a gasket and with help one day from Rob Mason I refitted the cylinder head and tightened it down. After this the filter was refitted and the sump filled with oil. I then went for another test; first with 24v then 48v. The tests went well with no signs of distress from the motor or exhauster, which was sucking and blowing quite happily! Rob then kindly finished primer painting the exhauster. The following days I undercoated it fully in dark grey and some dark battle ship grey gloss paint was purchased. This was fully applied to the exhauster and motor, all the brass labels were cleaned up & polished with brasso and refitted. Attention the turned to the covers for the motor. These were drelled up then primed, undercoated and glossed externally and painted with anti tracking varnish internally. The last job undertaken was to removed the eight brass nuts that cover access to the valves on the cylinder head. These were drelled up on the wire wheel then polished using brasso. Once refitted the overhaul was complete. There was one final test on 110v and left running for 15mins with no sign of distress. The exhauster now awaits transportation back to Bury once the second exhauster overhaul is complete. They will then be stored until summer before fitting to D5705 when time allows. This then leaves my garage empty to receive the next project - the exhausters for D8233 and two traction motor blowers for D5705. Many thanks go to Carl Holt, Rob Mason and Brian Bailey for their input. |
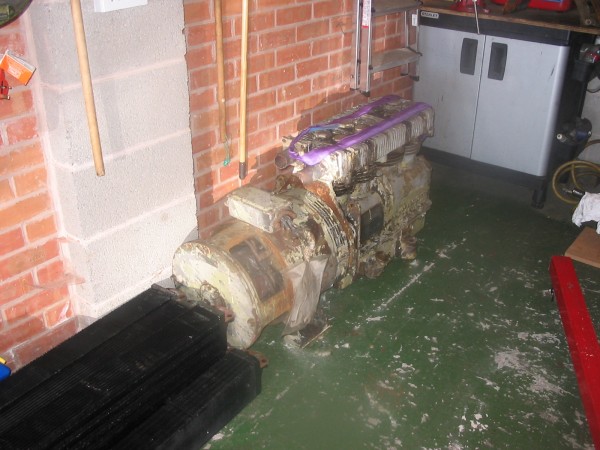 |
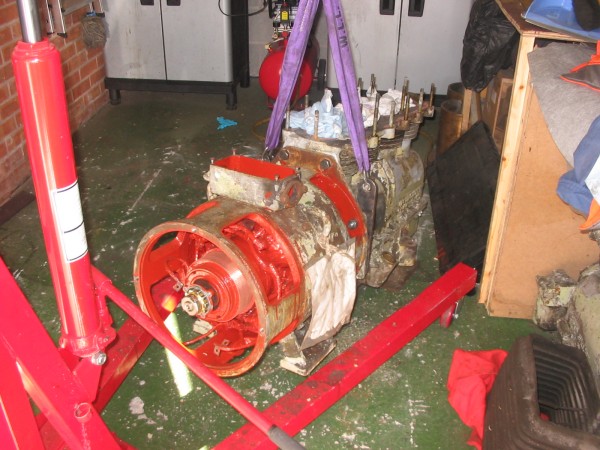
| Above : Before works started. © C15PS |
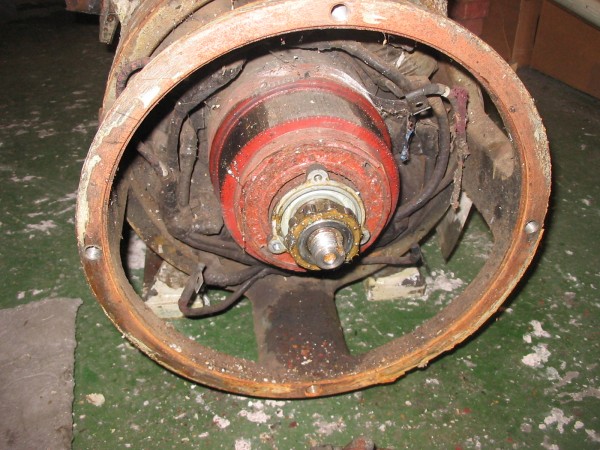 |
| Above : View with end plate removed. © C15PS |
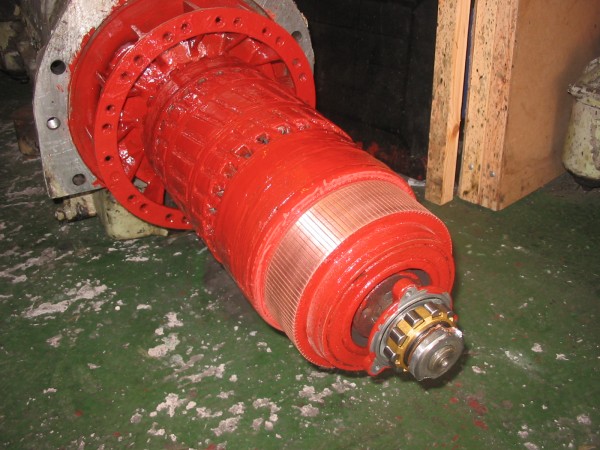 |
| Above : Armature after cleaning and painting. © C15PS |
 |
| Above : During needle gunning. © C15PS |
 |
Above : Making new head gasket. © C15PS |
 |
| Above : Motor and exhauster in the process of being reunited. © C15PS |
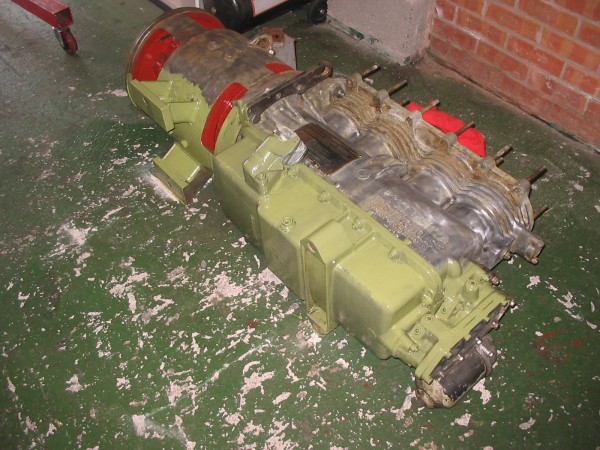 |
| Above : On its side to paint the underside. © C15PS |
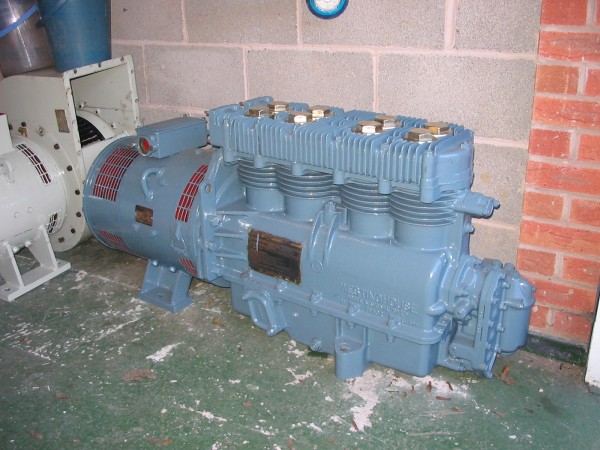 |
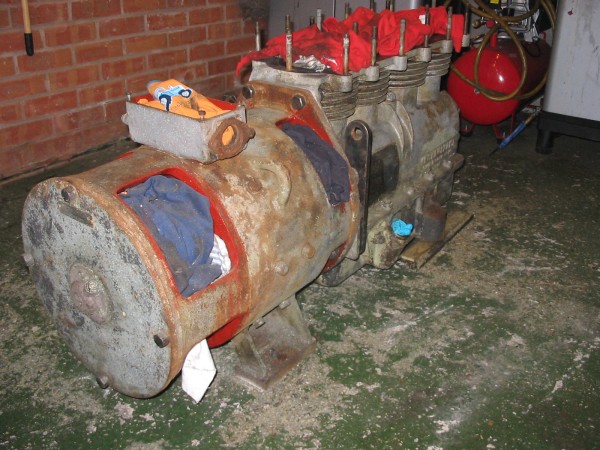
| Above : The fully overhaul exhauster ready to go onto D5705. © C15PS |
Fancy Getting Involved? click on the You Can Help page